How to Crochet: Adjustable Double Ring
By Candace – 5 CommentsThe adjustable ring is a very popular method of starting a project in the round, but some prefer the double ring for its greater durability. This tutorial will teach you how to make a double ring so you can see which one you prefer and have another skill in your crochet arsenal.
You can roll over the pictures to see a left-handed view.
First, wrap the yarn around twice. Your yarn tail should be in the front, and the working yarn should be in the back.
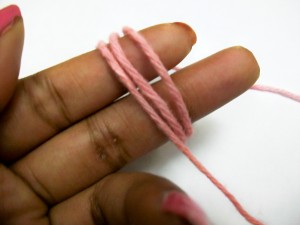
Pull up a loop.
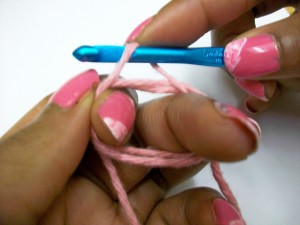
Make your starting chain. (Typically, 1 ch if you’re working with sc, 2 ch for hdc, 2 or 3 ch for dc, 4 ch for tr, etc.) I made 1 chain for this example.
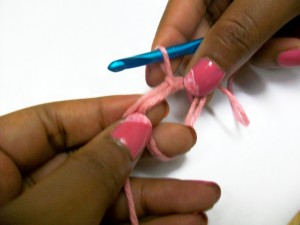
Make the stitches of the first round. I use sc in this example, but you can use any stitches you want.
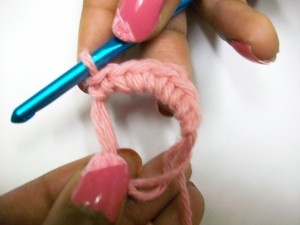
Pull the yarn tail to close the ring, If you can’t get both loops to close, pull the front loop to close the back loop then pull the tail to close the front loop.
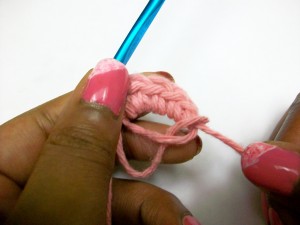
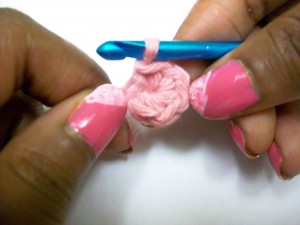
If you need help, feel free to leave a comment below.


I could have used this 15 minutes ago — literally! I was pulling on the end to close the loop & it broke! 😯
Thank you so much! I always try and weave my tail around under the entire first row when using the adjustable ring. This will save me quite a bit of time.
Thank you!
Thank you so much for your very clear pictures and explanations for the adjustable double ring start. I tried to find it elsewhere, but was fortunate enough to pull your tutorial up and I will print it off so I can reference it easily. I think you are wonderful and you really helped me!!!
Just wanted to thank you for posting this. It was very understandable. The pictures are great.