How to Make a Felted Join
By Candace – 5 CommentsWhen your ball of non-superwash wool yarn runs out or breaks and you don’t want to deal with another end, the felted join can help. It’s quick, simple, and you don’t need any extra tools for it. It makes a great substitute for the Russian join if your yarn needle has gone missing. This join is commonly called “spit splicing” since you can use your saliva in a pinch, but some of us prefer to just use water.
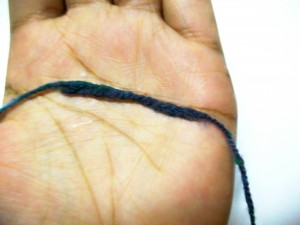
The first thing you need to do is wet the ends of your yarn. I like to wet about an inch and a half of each end. Overlap the wet ends in your palm.

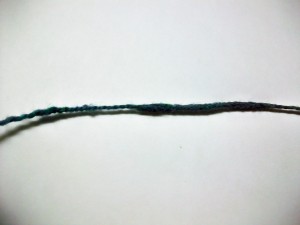
Rapidly rub your palms together back and forth. The moisture, heat, and friction causes the fibers to lock. I prefer to do it for at least a minute to be sure it’s felted. It may look a little thick, but once it works up, it shouldn’t stick out. If it ends up being bothersome, careful trimming and repeating the felting process can help.

I like to let the join dry a little before I continue working, but you can work with it immediately if you wish.
If you have any questions, please leave a comment.


Will this work for acrylic yarn, because I heard this only works for natural fibres?
It works best with wool. Plant fibers like cotton won’t work and definitely not acrylic.
It might surprise you but I have seen my grandma do this join at least 45 years back as a child.She was a expert with her hands andl made floral necklaces when she used similar methods.Great to know some things do not change.
That is a very clever join. It makes perfect sense but that doesn’t mean I would have ever thought it up. Varsha’s comment just reaffirms our need to ask and record everything we can from the crochet artist who have been gaining experience for many years which might be lost if we don’t do our part to assure that priceless knowledge isn’t. That would be awful and mybe a sin.
maybe all of us can send raechel hints and tips we have learnt from the older generation in our lives.She can compile and share.