How to Crochet: Surface Crochet or Surface Slip Stitch
Posted in Tutorials and Help on December 30th, 2010 by Claire Ortega-Reyes – 38 Comments
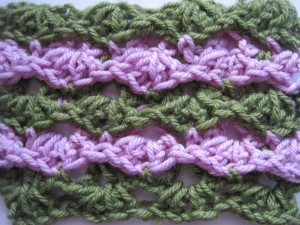
I think it’s a fact that some stitches just scream for multi-color! This series gives instructions for stitches like these, includes photos to see what the end result look like, and suggests color sequences to best display the stitch.
Multi-Colored Reversible Fans Stitch
read more »
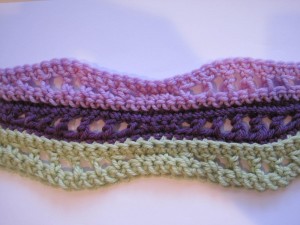
I think it’s a fact that some stitches just scream for multi-color! This series gives instructions for stitches like these, includes photos to see what the end result look like, and suggests color sequences to best display the stitch.
Multi-Colored Ridged Ripples Stitch
read more »
The reverse single crochet stitch, also known as the crab stitch, is made by doing single crochet stitches. With one major difference: the stitches are done in the opposite direction. So right-handed people work the reverse sc from left to right, and left-handed people from right to left.
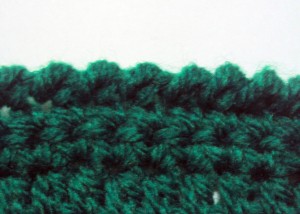
This stitch is pretty distinctive; it looks ridged and makes a nice finishing option for crochet items. I personally love using this stitch for bag handles and baby things–it makes items sturdier. And it looks like a hand-sewn edging, too. It looks great when worked as an edging using a contrasting or coordinating color.
Here’s a step-by-step tutorial for the crab stitch, or reverse sc. Mousing over the images will show the photos for the left-handed tutorial.
read more »
| For the longest time, crocheters have envied knitters’ cabled creations. Guess what? Crocheters can make them, too! The cables are made by using front post stitches and back post stitches. Different looks are achieved by crocheting around the stitches directly below the current row, or by making crossed stitches by skipping a few stitches first. The swatch on the right shows three different cables: the rightmost is the basic cable, the middle is the crossed cable, and the leftmost is made with a combination of the two. | 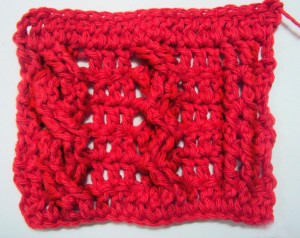 |
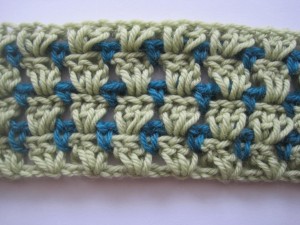
I think it’s a fact that some stitches just scream for multi-color! This series gives instructions for stitches like these, includes photos to see what the end result with look like and suggests color sequences to best display the stitch.
Little Gems Stitch
read more »
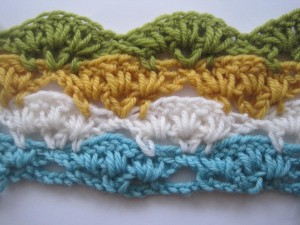
I think it’s a fact that some stitches just scream for multi-color! This series gives instructions for stitches like these, includes photos to see what the end result look like, and suggests color sequences to best display the stitch.
Multi-Colored Scallop Stitch
I’m sure most of you, even beginners, have heard of the crocheting go-to stitch ‘Shell Stitch’ (see a version of it here: Stitches for your Crocheting Arsenal: Part Two) The scallop stitch is very similar, but usually involves more stitches within each ‘scallop’ and each scallop occupies a larger number of spaces. I recently saw a very old scrap afghan at a garage sale using a stitch similar to this one. I spotted from nearly a block away!
read more »
Yarn weight is an important factor in choosing the right yarn for crochet projects. But have you noticed that the yarns in the same weight category can have varied thicknesses? Some would deviate from the standard weight categories and describe their yarn as ‘light worsted’ or a ‘heavy dk-weight.’ So they started adding gauge information to the descriptions of weight categories, but people still encountered problems. After all, one person’s gauge is never exact; some work tightly and others loosely. And what about the unlabeled yarns we find at markets and sales? How do we know for sure what yarn weight they are?
read more »
A simple way to add texture to garments, accessories or bathroom/kitchen projects is to add ribbing. Both vertical and horizontal ribbing can be created by learning three very easy and helpful techniques.
Horizontal ribbing
To make a successful horizontal stitch you simply have to learn where the back loops in a sc, hdc, dc or tc are. Crocheting in Front, Back and Both Loops is a good place to start learning!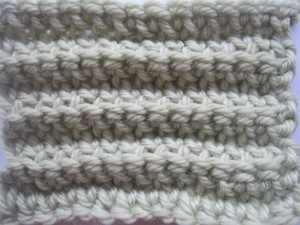
read more »
The puff stitch is related to the popcorn stitch and the bobble stitch. They all provide interesting texture, but the puff stitch’s advantage is that it pops out on both sides of the work, meaning the back of the work looks pretty much like the front.