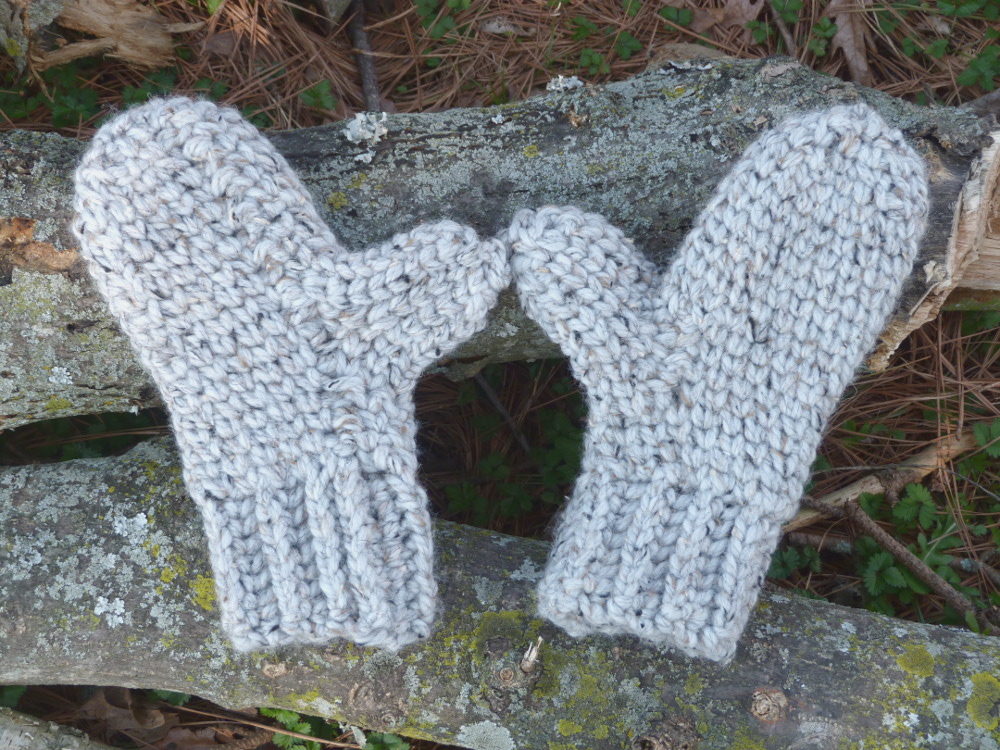
Free Crochet Pattern: Chunky Knit Stitch Mittens
By Amy Yarbrough – Be the first to comment
Have you ever made a pair of mittens before? It may sound a little daunting if you haven’t but believe me, it’s really quite simple. Using the knit stitch, I’ve designed this simple mittens pattern to be basic enough for new crocheters.
Don’t let the details get you down. I suggest two ways of working this mittens pattern – following the instructions straight through, or sizing it accordingly as you go. If you’re the hands-on type (ahem, no pun intended), then I would recommend tailoring each step to your size. For example, try the cuff around your arm and adjust it appropriately. Then the length before the thumb, and next the opening. If you find my instructions don’t meet up with your sizing then simply subtract or add a row here and there. What is important about this pattern is the basic steps: cuff, wrist, thumb-hole, hand length, and thumb length.
| Skill Level: |  |
Finished Size: Fits Adults (hands measuring between 6 – 8 inches long)
| Materials: Bulky weight yarn (approximately 120 yards) Crochet hook M (9.00 mm) Yarn needle Stitch marker |
Gauge:
4 sc = 2’’
5 rows = 2’’
Gauge Swatch: 2’’w x 2’’h (5 cm x 5 cm) ch 5.
Row 1: sc in second ch from hook and in each ch across: 4 sc
Row 2 – 5: ch 1, turn, sc in each sc across: 4 sc
Finish off.
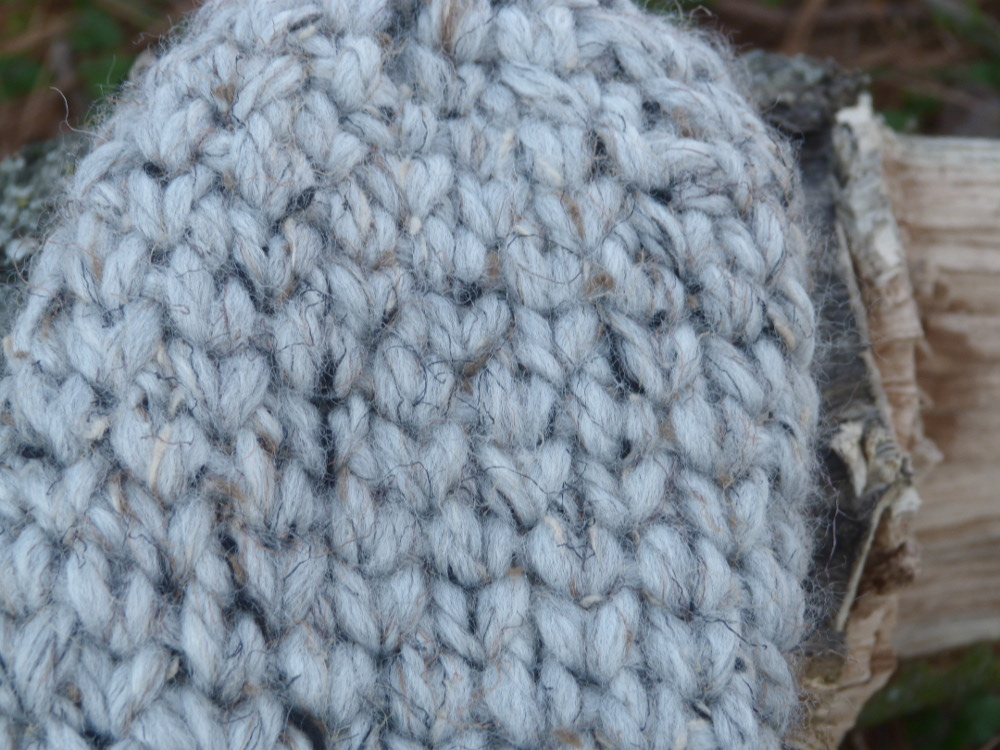
Knit Stitch: work all single crochet stitches in the pattern as the knit stitch (se How to Crochet the Knit Stitch, photo tutorial and video tutorials), except when working into chains.
Changing Sizes: for a smaller or larger size, simply subtract or add a few rows at the cuff, and length of body and thumb.
Need help understanding the abbreviations and symbols? Check out the crochet abbreviation chart.

Crochet Pattern: Chunky Knit Stitch Mittens
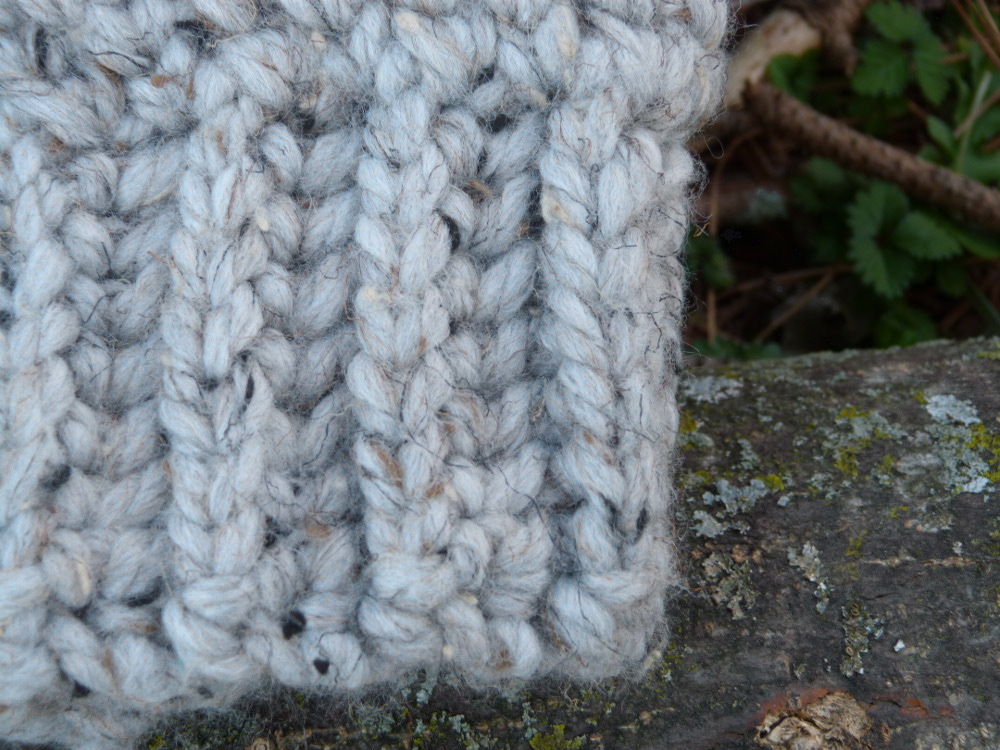
Cuff
Row 1: ch 7, sc in second ch from hook and in each ch across: 6 sc
Row 2 – 16: ch 1, turn, fpsc across: 6 fpsc
Join the ends of the cuff by single crocheting them together. Do not finish off.
Body
Round 1: ch 1, turn, sc around top of cuff, sl st in first sc: 16 sc
Round 2 – 4: ch 1, turn, sc in each sc around, sl st in first sc: 16 sc
Round 5: ch 1, turn, sc in next 12 sc, leave remaining sts unworked: 12 sc
Round 6: ch 1, turn, sc in next 12 sc: 12 sc
Round 7: ch 1, turn, sc in next 12 sc, ch 4, sl st in first sc: 12 sc
Round 8: ch 1, turn, sc in each st around, sl st in first sc: 16 sc
Round 9 – 17: ch 1, turn, sc in each sc around, sl st in first sc: 16 sc
Round 18: ch 1, turn, *sc2tog, sc in next 2 sc, repeat from * around, sl st in first sc: 12 sc
Round 19: ch 1, turn, *sc2tog, sc in next sc, repeat from * around, sl st in first sc: 6 sc
Round 20: ch 1, turn, sc in each sc around, sl st in first sc: 6 sc
Finish off, leaving a long end for sewing. With a yarn needle, weave end shut to close mitten.
Thumb
Round 1: join yarn in any st on thumb hole, work 4 sc along bottom and top, and 3 sc along both sides, do not sl st but use a stitch marker to keep track of the beginning stitch: 14 sc
Round 2: *sc in next 5 sc, sc2tog, repeat from * around: 12 sc
Round 3: *sc in next 4 sc, sc2tog, repeat from * around: 10 sc
Round 4 – 8: sc in each sc around: 10 sc
Round 9: sc2tog around: 5 sc
Round 10: sc in each sc around, sl st in first sc: 5 sc
Finish off, leaving a long end for sewing. With a yarn needle, weave end shut to close thumb.

Remember, if you have any questions, leave a comment and I’ll get back with you!

