How to Crochet an Edging for your Bullet Journal
By Caissa "Cami" McClinton – 1 CommentAs I have an interest in virtually all things crafty, I have recently become enamored of bullet journaling. Bullet journaling is a relatively new concept that combines a planner, to-do list, and diary into one volume. I have only been bullet journaling for less than two weeks, but I can say it is a system that works well for me and allows me to incorporate my artsy craftsy side into my daily planning. A big bonus is that it really helps to keep me organized!
It occurred to me that crochet could (and should!) be incorporated into bullet journaling. This tutorial focuses upon crocheting an edging for your bullet journal. For the purposes of this tutorial, I will be using a piece of cardstock cut to 4.75 in (12 cm) x 8.25 (21 cm) because those are the dimensions of my bullet journal.
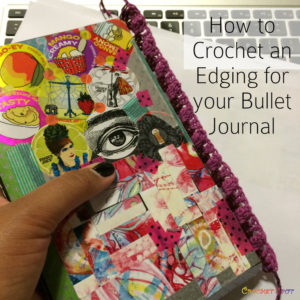
Please feel free to modify the pattern as needed for your journal pages.
Materials:
Piece of cardstock cut to size (or journal/planner page)
Piece of foam or sweatshirt
Ruler
Pencil with eraser
Pushpin
Needle
Size D (3.25 mm) crochet hook
Embroidery floss or crochet thread (size 0)
For the purpose of practicing this skill, we’ll make a full-size bullet journal page in this tutorial.
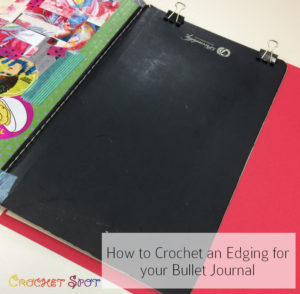
The piece made in this tutorial could be tucked into your journal as a bookmark, or adhered into the journal as you wish.
Abbreviations:
ch – chain
sc – single crochet
sts – stitches
dc – double crochet
popcorn – Popcorn stitch
Preparing the Paper:
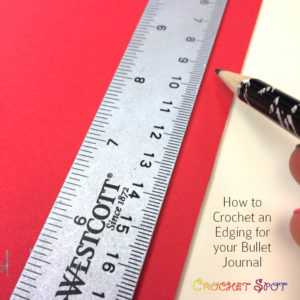
1. Using the ruler as a guide, draw a line in pencil 1 cm (3/8 in.) from the edge(s) of the paper where you want the crochet to show.
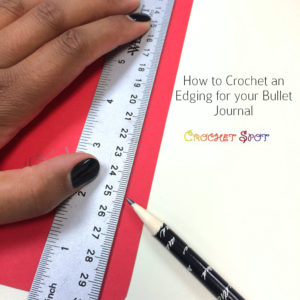
2. Using the ruler as a guide, mark a dot with a pencil every 1/2 cm (3/16 in.) on the line you drew.
3. Place the paper on the foam or sweater. Using a pushpin, gently poke a hole on each dot mark.
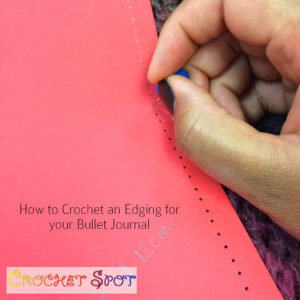
4. Erase the pencil lines.
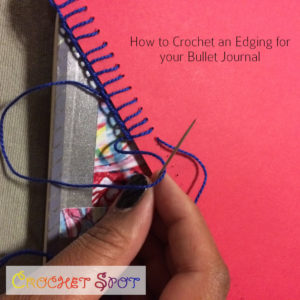
5. Using the needle and embroidery floss, make a blanket stitch through the holes in the paper. Secure loose ends with tape on the wrong side of the paper. Here is a good blanket stitch tutorial.
Crocheting:
You may mouse over crochet images for left-handed views.
Row 1: Start with a slip knot on your hook. Sc into the first blanket stitch, and into each blanket stitch across: 40 sc
Fasten off and leave at least a 6 inch tail.
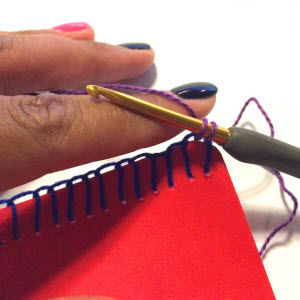
Row 2: Do not turn. Working right to left (or left to right if you are left handed), with right side facing, begin with a slip knot on your hook. (2 dc, ch 1, 2 dc [counts as 1 shell]) into first sc, skip 3 sc, *(2 dc, ch 1, 2 dc) into next sc, skip 3 sc, repeat from * across until 3 sc remain.
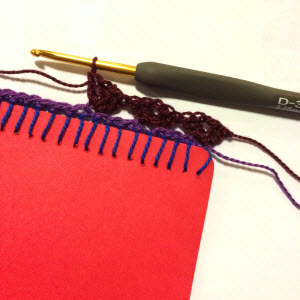
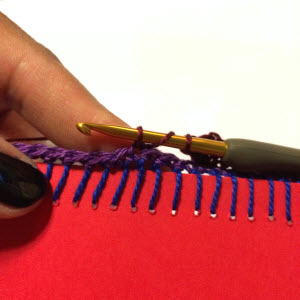
Instead of skipping 3 sc, skip only 2, and (2 dc, ch 1, 2 dc) into the last sc: 11 shells
Fasten off and leave at least a 6 inch tail.
Row 3: Do not turn. Working right to left (or left to right if left handed), with right side facing, begin with a skip knot on your hook, dc into first 3 sts, ch 1, *popcorn in space between 2 shell sts, ch 1, skip 2 dc, dc in next ch, dc in next dc, ch 1,
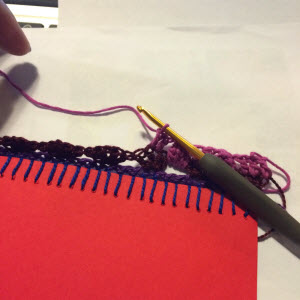
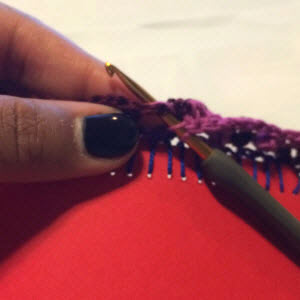
Repeat from * until last space between shells is reached. Popcorn into last space between shells, ch 1, dc into last 3 sts. Fasten off and leave at least a 6 inch tail.
Finishing: Braid ends together, knot, trim and leave ends hanging free, or loosely weave into bobbles and let mini tassel hang out.
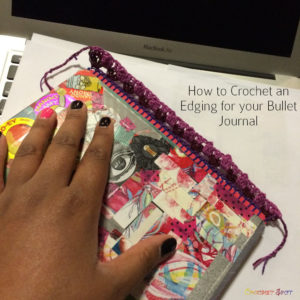
To use, tuck or adhere the page into your journal. If you feel confident, you can crochet directly onto the pages of your journal.
I hope you liked the tutorial and that you find a way to use it or something similar in your planner or journal. Feel free to modify the pattern to fit your book! If you have any questions, please let me know!


I’m looking for a pattern for a crochet cover for a daily planner.