How to Make a Peruvian Loom for Crochet
By Caissa "Cami" McClinton – 6 CommentsI was thrilled at the wonderful response to my last tutorial, Crocheting with a Peruvian Loom (Wood Block). Since a few people mentioned they’d like to learn how to make a Peruvian loom, I came up with this tutorial.
The goal of this procedure is to make a smooth, firm, cardboard rectangle with the following dimensions: approximately 8″ x 4 1/2″ x 1/2″. Feel free to substitute materials, techniques, or even dimensions in order to achieve your desired result. Enjoy!
Materials
cardboard box (I used a U.S. Priority Mail box)
thick masking tape
scissors (or box cutter)
pencil
optional: piece of paper cut to desired length and width dimensions. (I used my wooden Peruvian loom.)
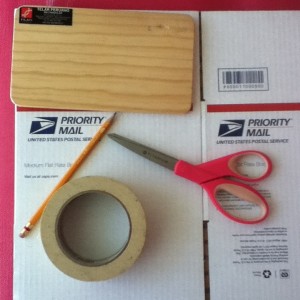
Step 1: Start by opening your box so that you have one flat piece of cardboard.
Photo below shows this done. I have separated my box by ripping it at the glued seam.
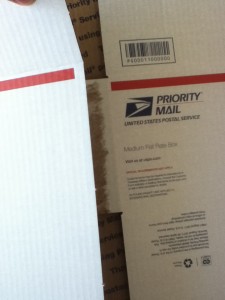
Step 2: Using your pattern as a guide, cut a width of the box that fits your measurements. Include the box flaps.
Photo below shows this in progress. I have determined that the short sides of my box are the perfect width, so I am cutting on the folds of my box, including the top and bottom flaps.
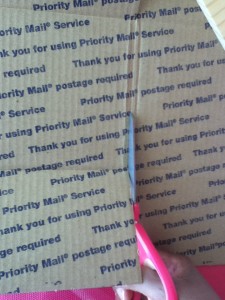
Tip: In order to create the thickness of your loom, determine the amount of layers of cardboard you will need. Generally, 3 to 6 layers of cardboard will give you a good thickness that is easy to work with.
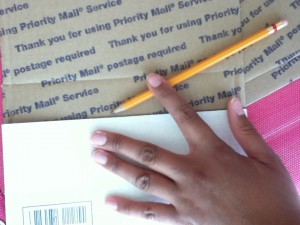
Step 3: Fold the box flap over. Using a pencil, mark the length measurement on the cardboard.
Photo below shows this in progress.
Step 4: Cut the cardboard along the pencil marking.
Photo below shows this in progress.
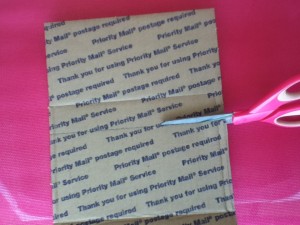
Note: Using just one side of the box, you now have two pieces. Each has a flap the size of your pattern, as well as a folded seam of varying lengths.
Step 5: Arrange the piece with the shorter seam inside of the piece with the longer one. Fold the shorter seam down. Then fold the longer seam down.
Photo below shows the way you should arrange the pieces.
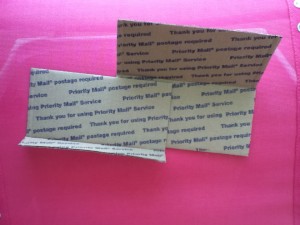
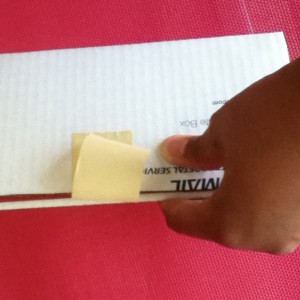
Step 6: Holding the two longer seams firmly, attach a piece of tape to secure your work. We’ll call this your “first sandwich.”
Photo below shows this in progress.
Step 7: Repeat Step 2 ONLY for the other box flap.
Note: You now have two pieces, the “first sandwich” and a box piece cut to the correct width. The box piece has two flaps.
Step 8: Arrange the “first sandwich” inside of the box piece. Snugly fold one of the box flaps over to envelop the “first sandwich.” With your pencil, mark the resulting length measurement on the cardboard.
Photo below shows this in progress.
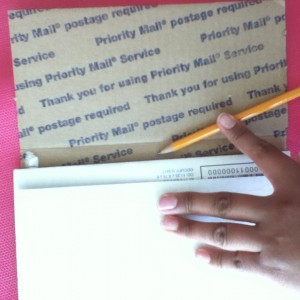
Note: In order to incorporate the increased thickness, your measurement in Step 8 will be different from the one in Step 3. Also, the cardboard will bend a little. This is fine!
Step 9: Remove the “first sandwich” and cut the box piece on the line you just created.
Step 10: Firmly tuck the “first sandwich” inside of the newly cut box piece and secure with strong masking tape on both sides.
Photo below shows this in progress.
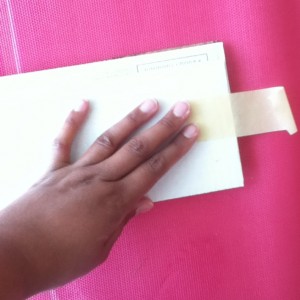
Note: The folded seam will be the bottom of your loom.
Step 11: To create a smooth top, carefully lay a long piece of masking tape across the top seam of your loom.
Photo below shows this in progress.
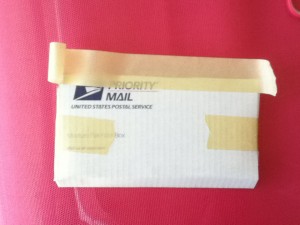
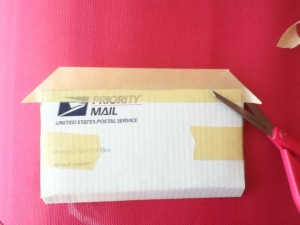
Step 12: To create mitered corners, cut the excess tape on an angle before carefully folding the flaps around.
Photo below shows this done.
Step 13: Turn your loom over and Repeat steps 11 and 12 on the other side for security.
Photos below shows this in progress.
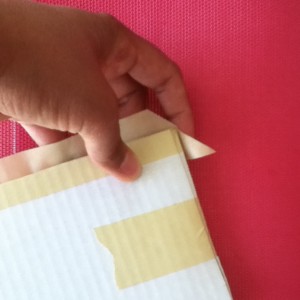
Note: Take your time taping. In order to make a smooth seam and avoid creases, gently fold the edges around an across the length of the loom.
Photo below shows this in progress.
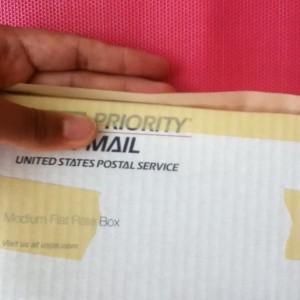
Photos below show the cardboard loom in comparison to the wooden one.
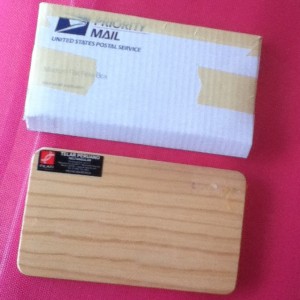
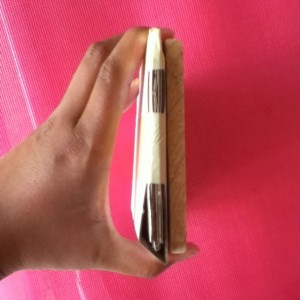
I have tested the technique with the cardboard loom and it works fine! If you have any questions or need any help, please leave a message in the comments!


What a GREAT tutorial. By making the block with cardboard you could use boxes set aside for recycling! I love to recycle and any tutorials that include recycling are tops with me!
Thanks very much for your creativity and willingness to share,
Cathy the Bagg Lady.
I can make a bunch!!! Have need to care for corrugated boxes & this is a great project… NOW, I just need to learn how to do this “Peruvian crochet”!! 🙂
Wonderful tutorial. I like how you used the layers to make it sturdy.
Be careful using Priority Mail boxes for other things, The USPS can charge you for it. I was charged for covering a USED priority box with butcher paper and sending something in it. I have heard of folks being fined for using Priority boxes as moving boxes too.
Yup…
” USPS website, here is what you have to agree to –
“Terms of Agreement
“I understand that Express Mail, Priority Mail, Global Express Guaranteed, Global Express Mail and Global Priority Mail packaging is the property of the United States Postal Service and is provided solely for sending Express Mail, Priority Mail, Global Express Guaranteed, Global Express Mail and Global Priority Mail. Misuse may be a violation of federal law.—
Hi,
I admire your work. I learnt how to crochet from internet in 2011 and remember practice some of your free instructions. So, I have a high regard for your work and would like to thank you for your posts.
Can you please explain how Peruvian Loom is used in crochet? I never heard of it and would like to learn its application and use.
Thanks.
Thank you for your kind comment! I linked to the instructional post in the beginning of his one. Just click on the link above! 🙂