By Amy Yarbrough – November 26th, 2019
3 Comments
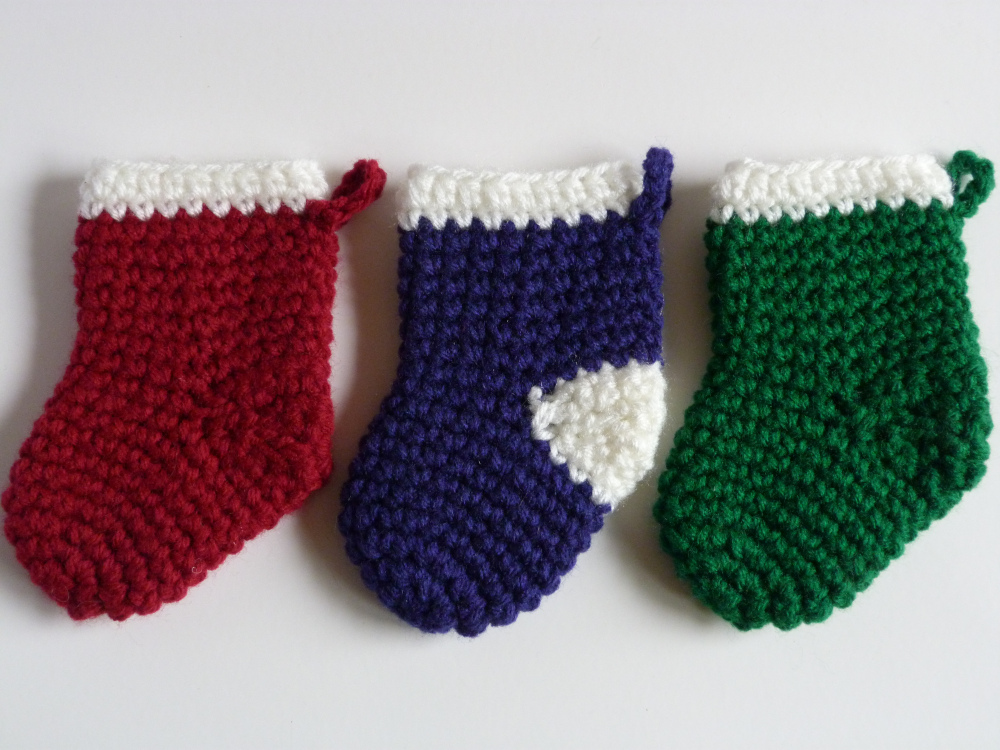
These adorable little stockings work up quickly and are a far cry better than the $1 kind you can find in the store, simply because they’re handmade!
If you’ve ever crocheted stockings or socks of any kind you’ll know there are a few different ways to work the heel, some of which are a little complicated. In an effort to keep this pattern simple, I designed it so that you gradually decrease in short rows and then increase back to original length, folding over to rejoin with toe to build the leg. The openings in the sides of the heels are then easily stitched shut.
Choose from either a solid stocking or a white heel. Or get especially creative and add stripes!
Click Here To Read More »
By Claire Golden – November 19th, 2019
4 Comments
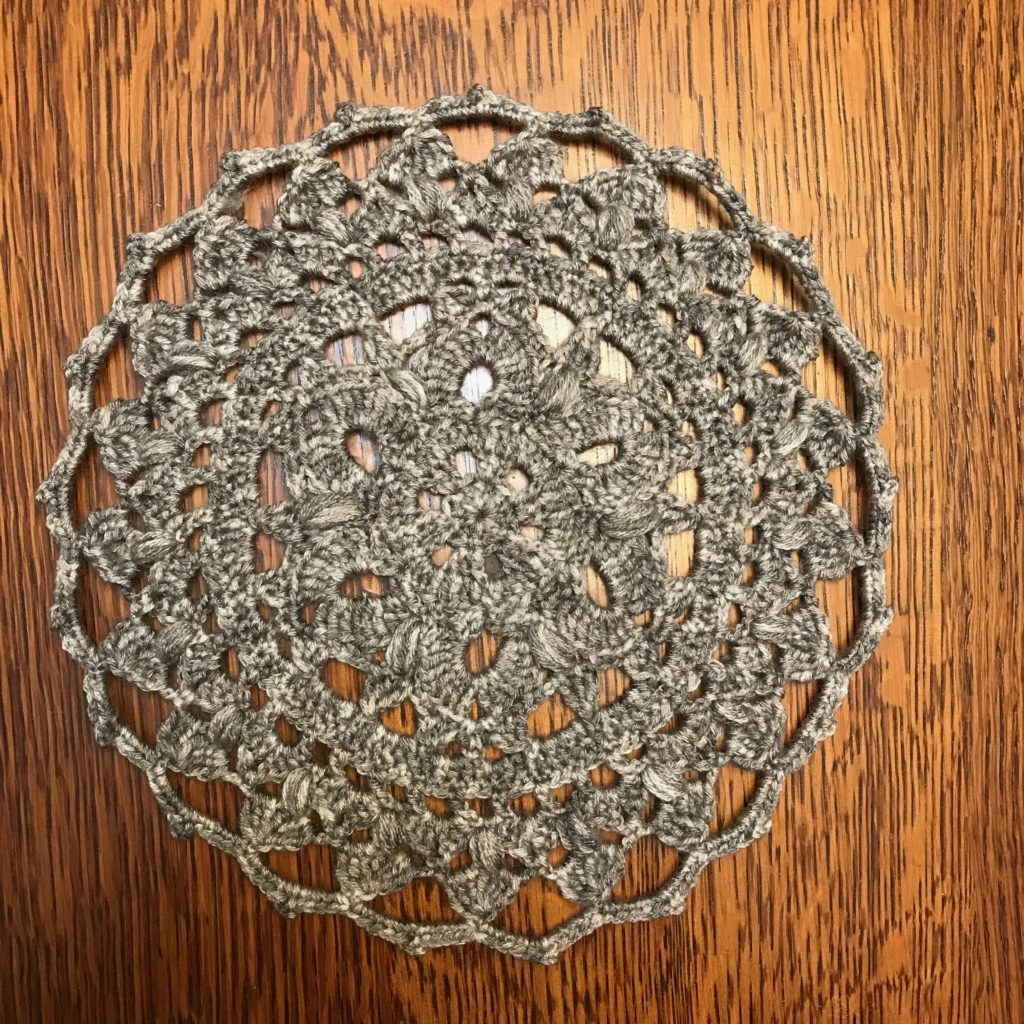
I love making mandalas because of their repetitive and calming nature. After acquiring a ball of lovely gray yarn, I thought it would make a pretty mandala, and this is the finished design. Although I chose to make it all in one color, mandalas are an excellent way to experiment with color changing. I’d love to see how this design looks in multiple colors. Or you could make it with crochet thread and a small hook to make a doily.
Click Here To Read More »
By Amy Yarbrough – November 14th, 2019
Be the first to comment
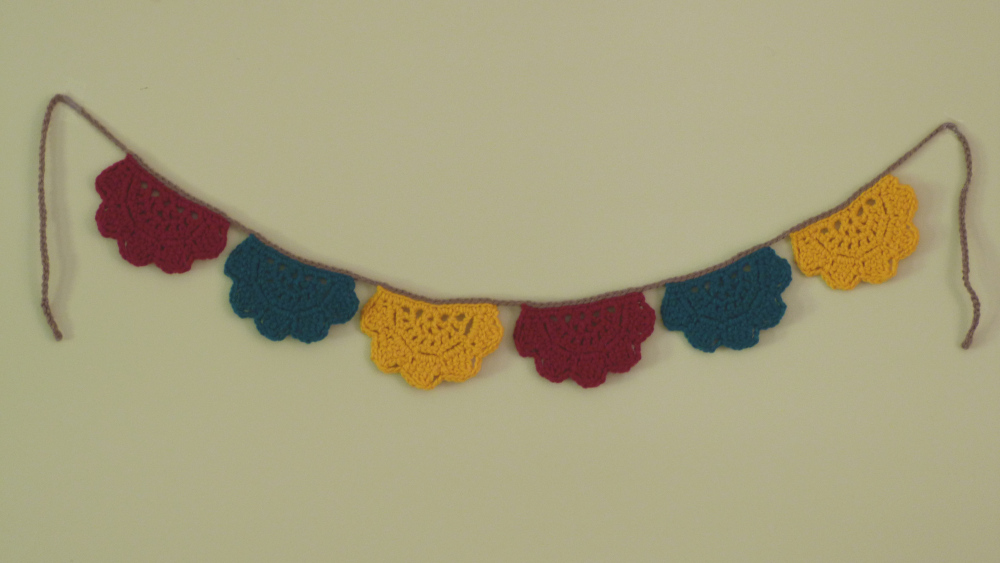
When I think of Autumn I naturally imagine pumpkins — and why not? However, those lovely crocheted creations that have swept the creative world are not the only things we can make for the season. Enter Autumn Doily Bunting, crocheted half doilies stitched onto a simple strand of crochet chain.
Each doily takes only a few minutes to work up so that you can have your bunting created in an hour or two, depending on your speed.
As usual, this bunting pattern can be adapted for as long a strand of bunting as you wish. Simply crochet as many doilies as you like and keep attaching them according to the instructions, being sure to end with a chain of 45.
Click Here To Read More »
By Claire Golden – October 27th, 2019
1 Comment
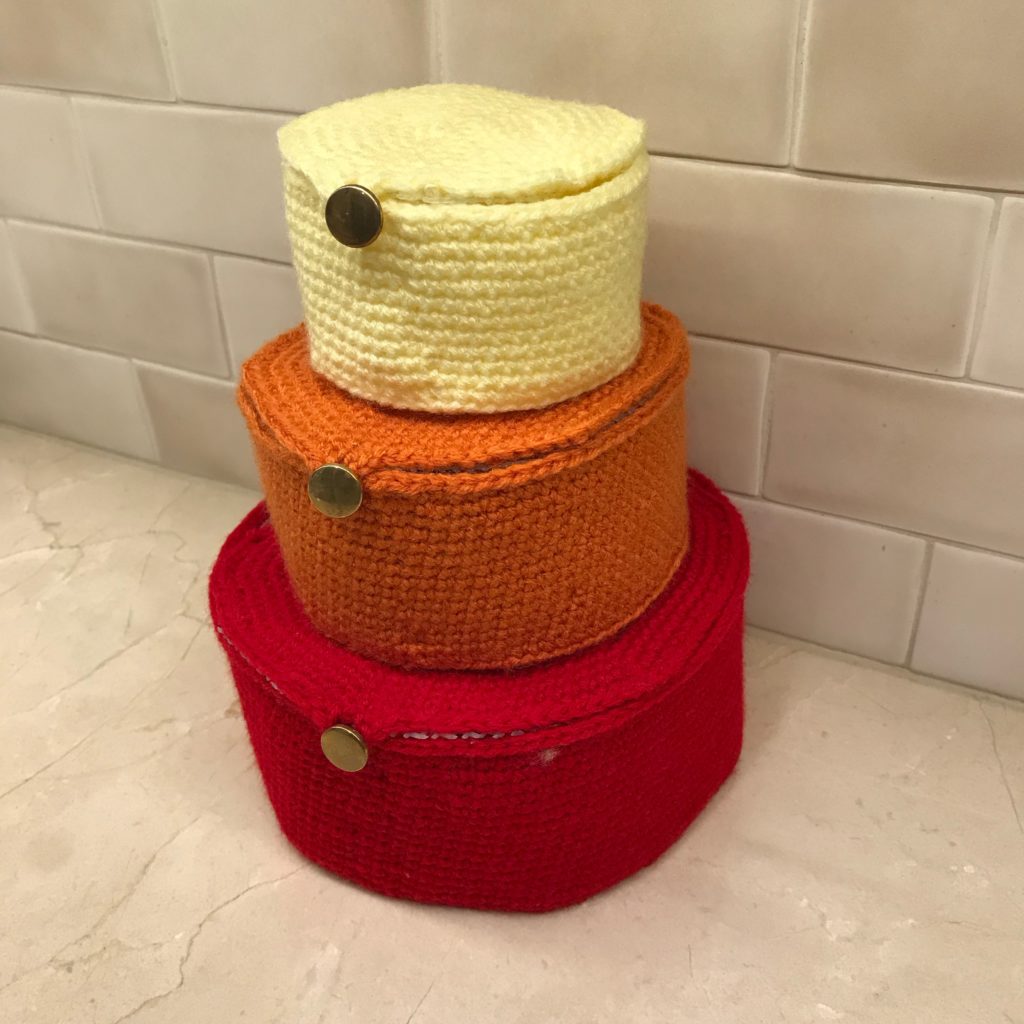
My sister and I spotted a cute set of nesting bowls in a home decor magazine. She suggested that I crochet some, and I was happy to oblige. Our version is made in ombre fall colors: cherry red, pumpkin orange, and light yellow. I found some gold buttons that I think complete the look…and I like shiny things. I love how the bowls store so easily, with each fitting perfectly into the other. And they’re so easy to make! All you need to know is the basics of working in a spiral and you can make a set of nesting bowls for your home. They’re lined with needlepoint mesh, which makes them sturdy and capable of holding things.
Click Here To Read More »
By Amy Yarbrough – October 17th, 2019
20 Comments
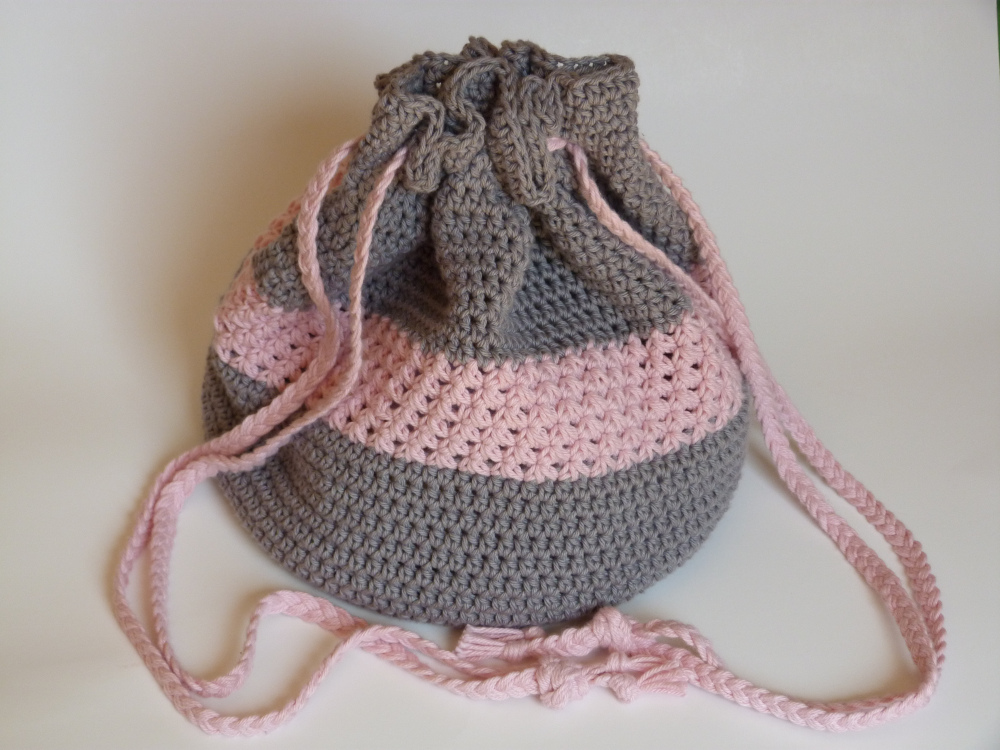
Bags are one of the most exciting things to design, in my opinion. The variety is tremendous! For the Evelyn Drawstring Bag I wanted to do a simple drawstring bag… but with a few special aspects.
The bag is made with a cotton yarn in simple half double crochet stitches up until the middle when the stitch changes to the unique but easy to crochet, trinity stitch.
But what I like most might just be the flat braided straps. Anyone with a general knowledge of braiding will be able to pull it off.
Ready to add the Evelyn Drawstring Bag to your collection? Splendid!
Click Here To Read More »
By Claire Golden – October 8th, 2019
5 Comments
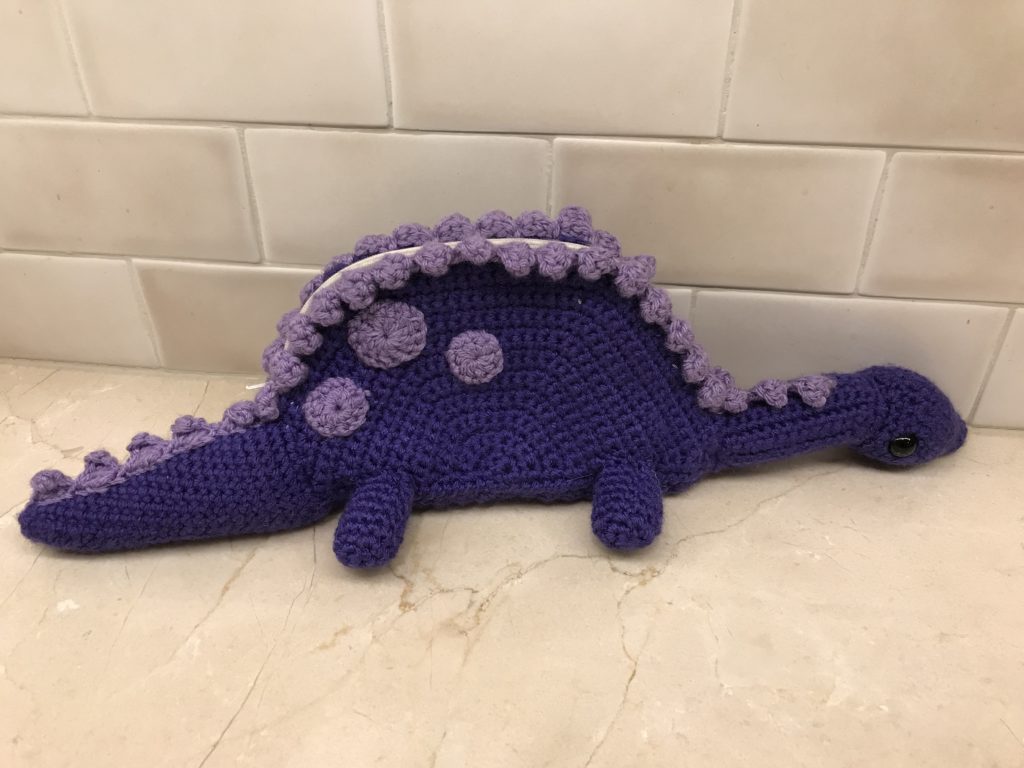
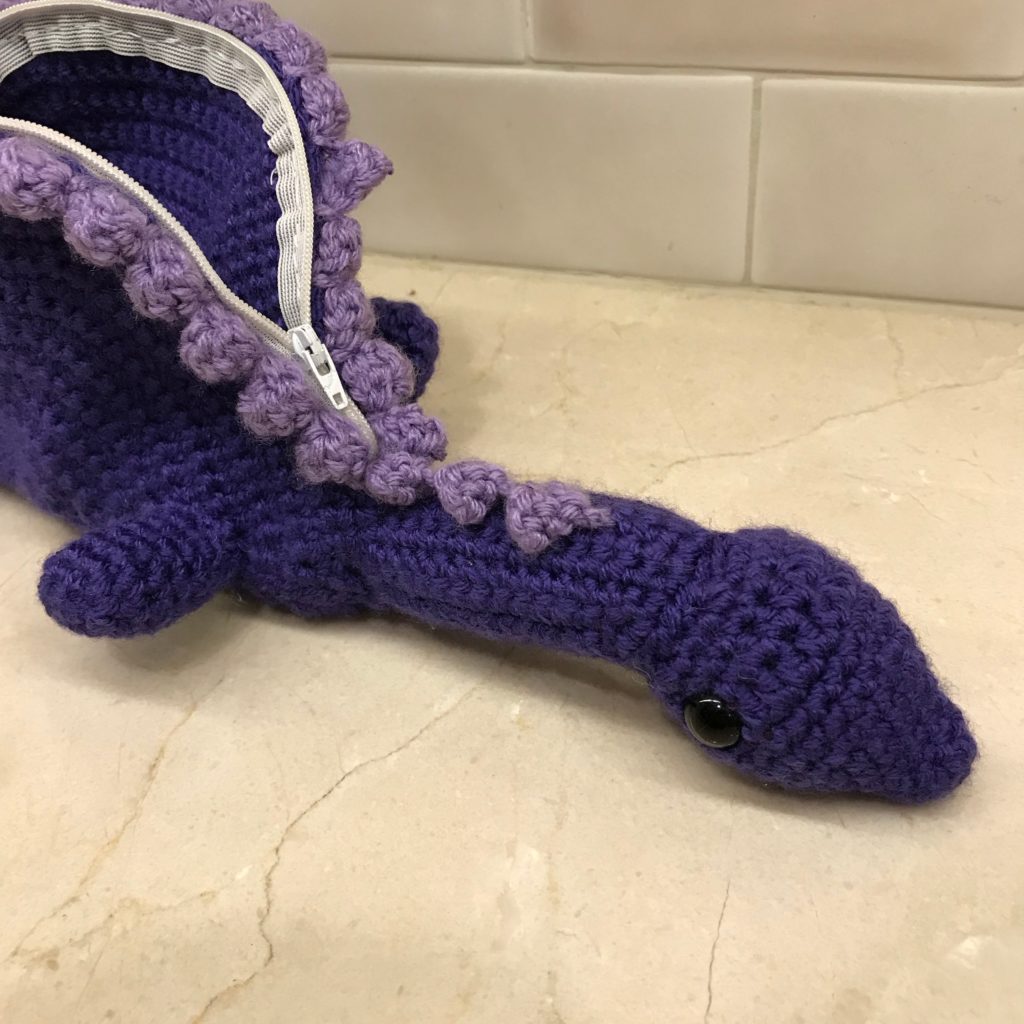
It’s back to school season, and cute pencil cases have been catching my eye all over the place. I spotted a plush dinosaur pencil case that I thought was the cutest thing in the world, and I wanted to make my own version. This spotted purple dinosaur is the result. It fits a large amount of pencils, erasers, and anything else you could need. It’s my first time incorporating a zipper into a crochet pattern, and I’m so happy with the result. I love combining plushies with practical items. This pencil case would be a perfect gift for a kid who just started school…or for grown-ups who never grew up. After all, I’m a college student who still uses plush pencil cases!
Click Here To Read More »
By Amy Yarbrough – September 30th, 2019
4 Comments
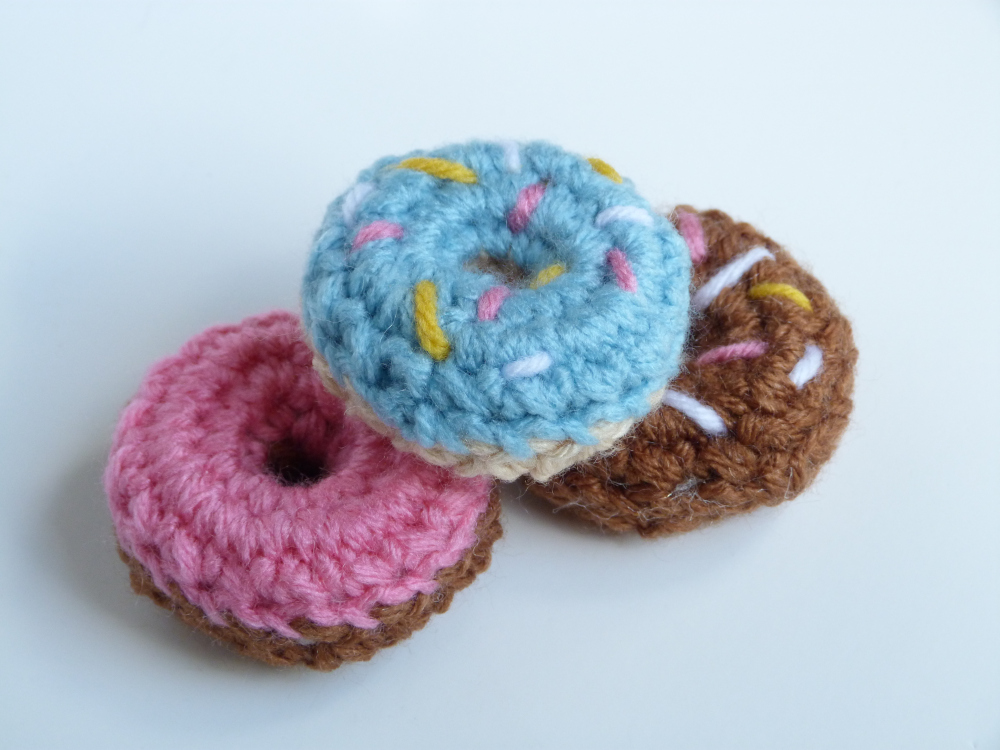
I can imagine many reasons for crocheting a set of mini donuts: 1) they make great play food for tea parties and cooking playsets, 2) you can easily make them into keychains with a few jump rings and a lobster clasp, and 3) it’s just so much fun!
In the picture you see one with just sprinkles, one with just frosting, and one with both frosting and sprinkles. The instructions are terribly simple and customizable so don’t hesitate to design your own.
Click Here To Read More »
By Amy Yarbrough – September 20th, 2019
8 Comments
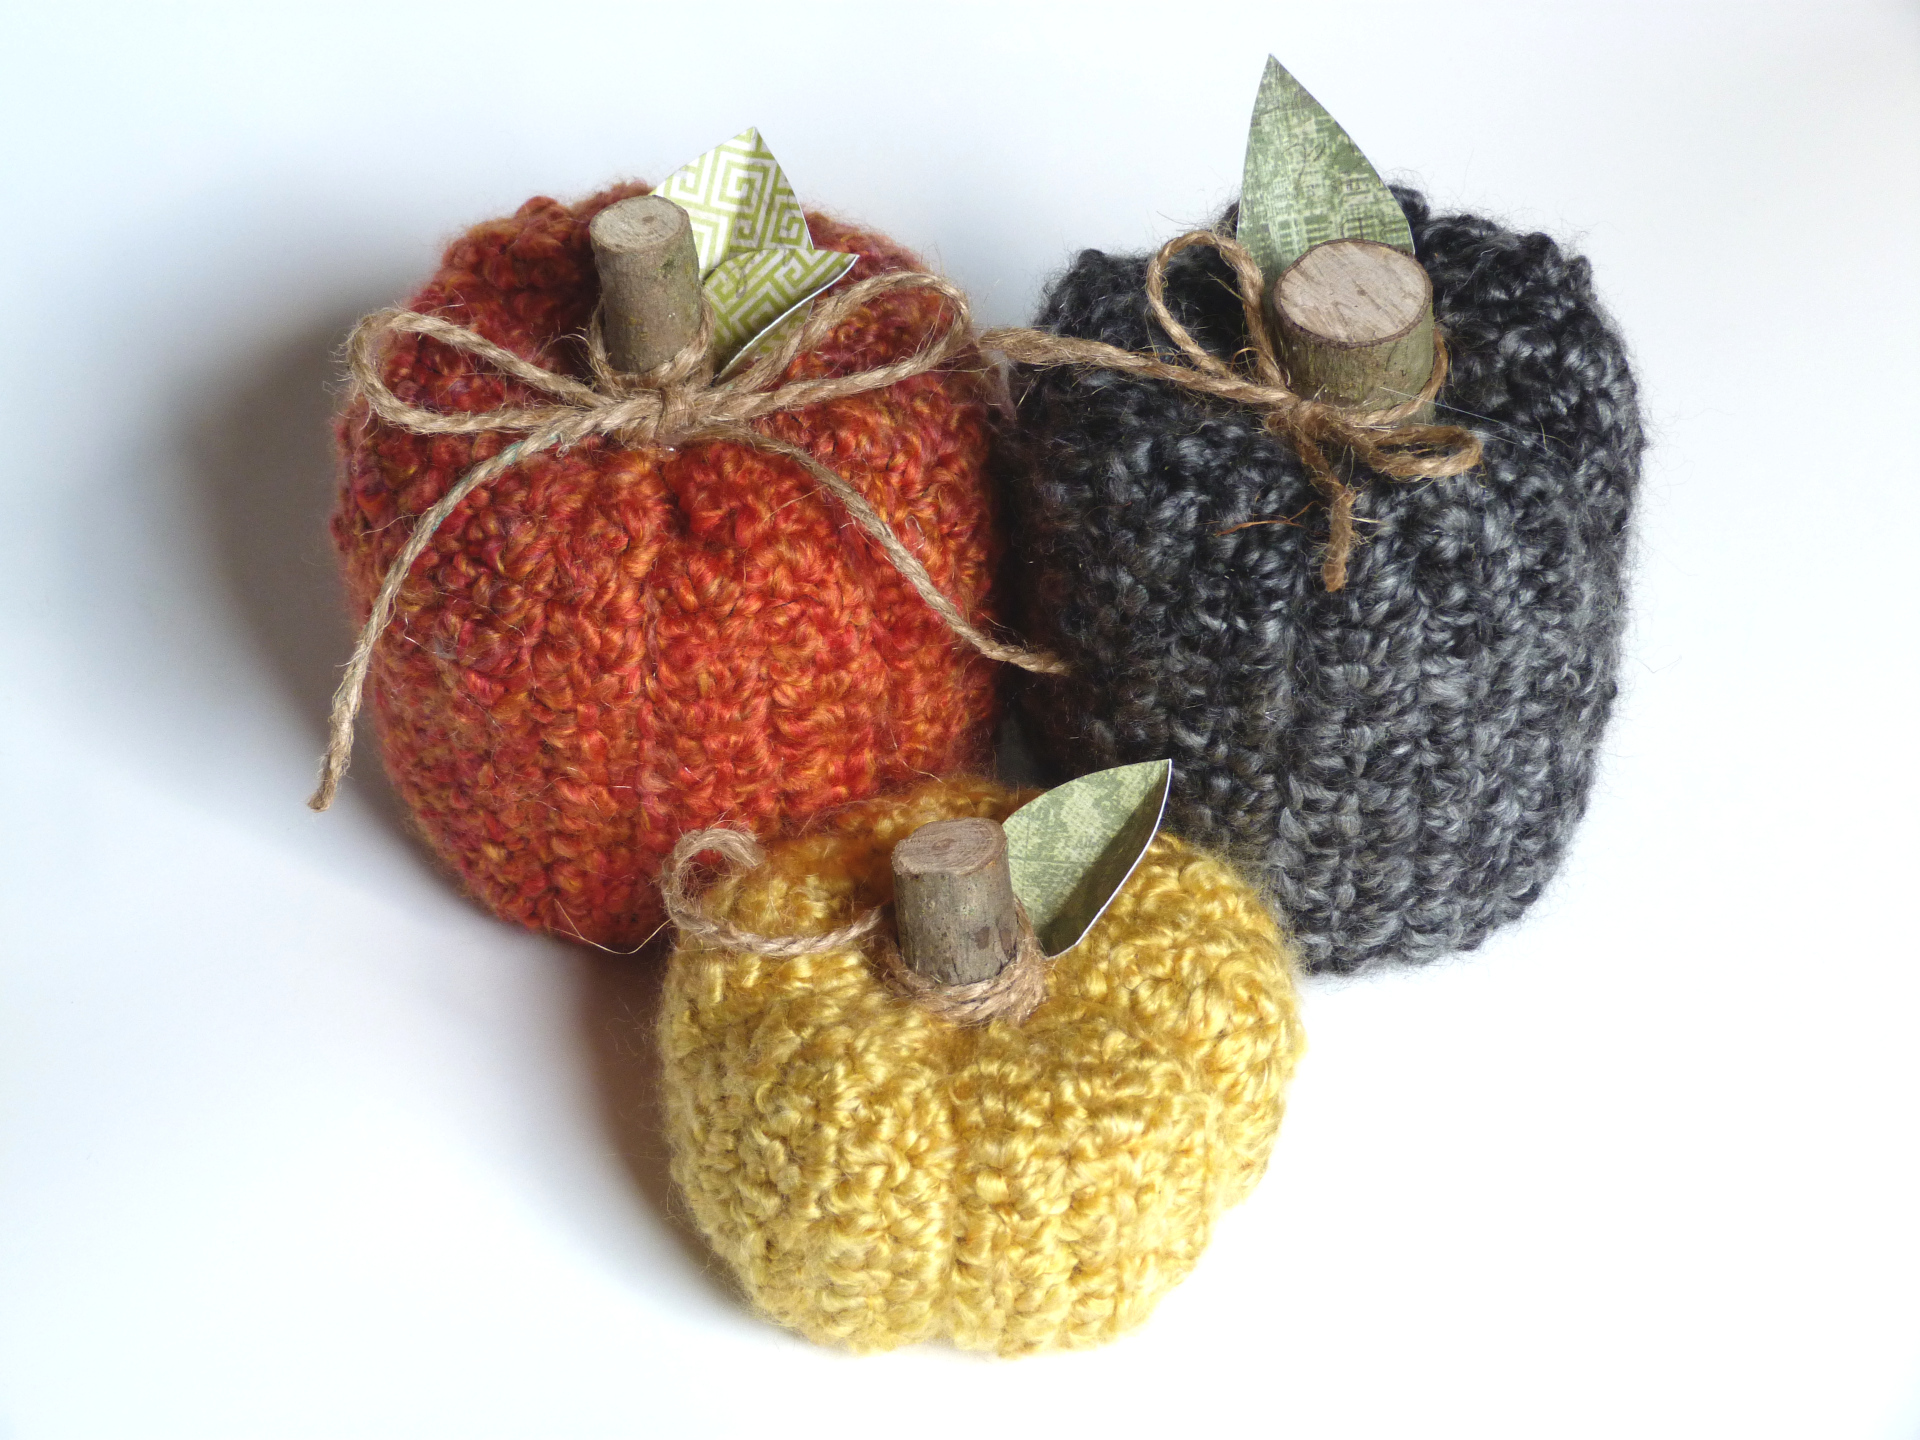
Have you decorated for fall yet? Sadly, I’ve only just begun. But here is my start, three rustic-styled pumpkins made with Homespun yarn.
These pumpkins are easy to crochet. Because of the uniqueness of Lion Brands Homespun yarn I decided to keep the actual crocheting simple and stick with single crochet.
Have you ever made crocheted pumpkins before? It sounded daunting to me when I first tried it some time ago but it surprisingly isn’t as hard as you might imagine.
However, I’m not sure that I don’t prefer decorating them! I love the rustic elements you can add to these pumpkins: wood, jute, and even scrapbook paper.
Be sure to check out my tips near the bottom on how to more easily shape larger pumpkins! And as usual, have fun, and let me know what you think!
Click Here To Read More »
By Claire Golden – September 10th, 2019
3 Comments
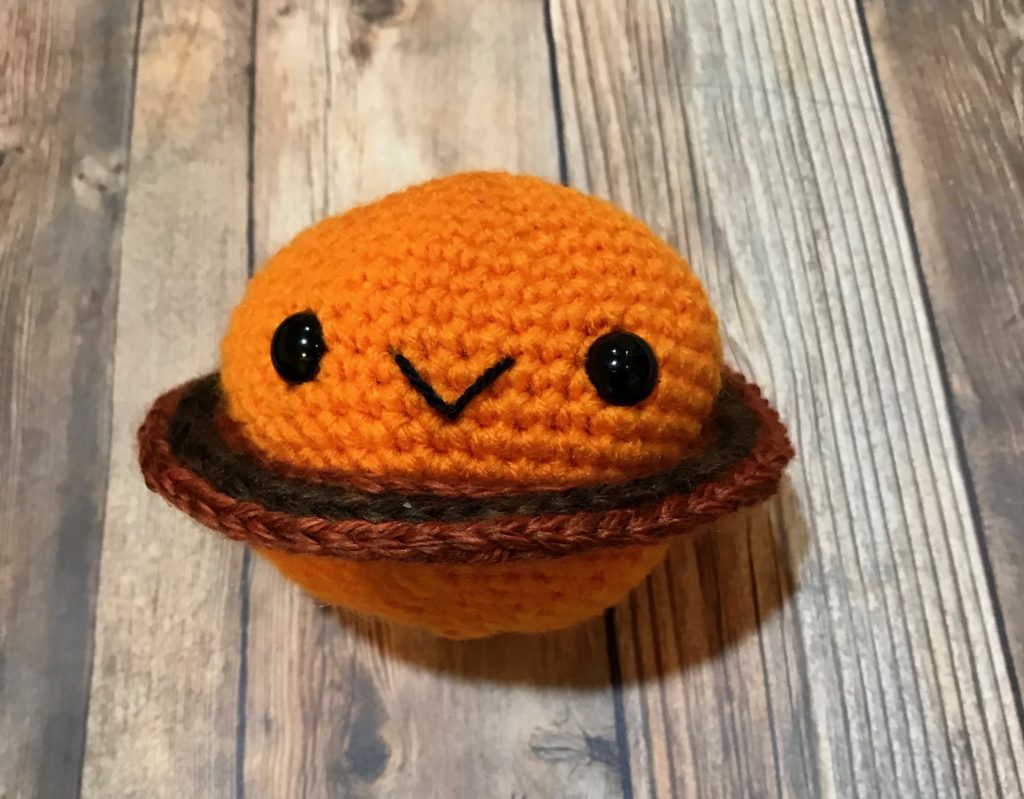
I’ve always loved learning about space…and when I love something, I make crochet versions of it! A friend asked me to make a planet, and I was happy to oblige. In order to make it recognizable as a planet, rather than just a crochet ball, I added the rings that are iconic of Saturn. Plenty of other planets outside our solar system sport their own rings, though, so you can invent your own planet. It’s true that the smiling face isn’t exactly scientifically correct, but some things must be sacrificed in the name of cuteness!
Click Here To Read More »
By Amy Yarbrough – August 26th, 2019
4 Comments
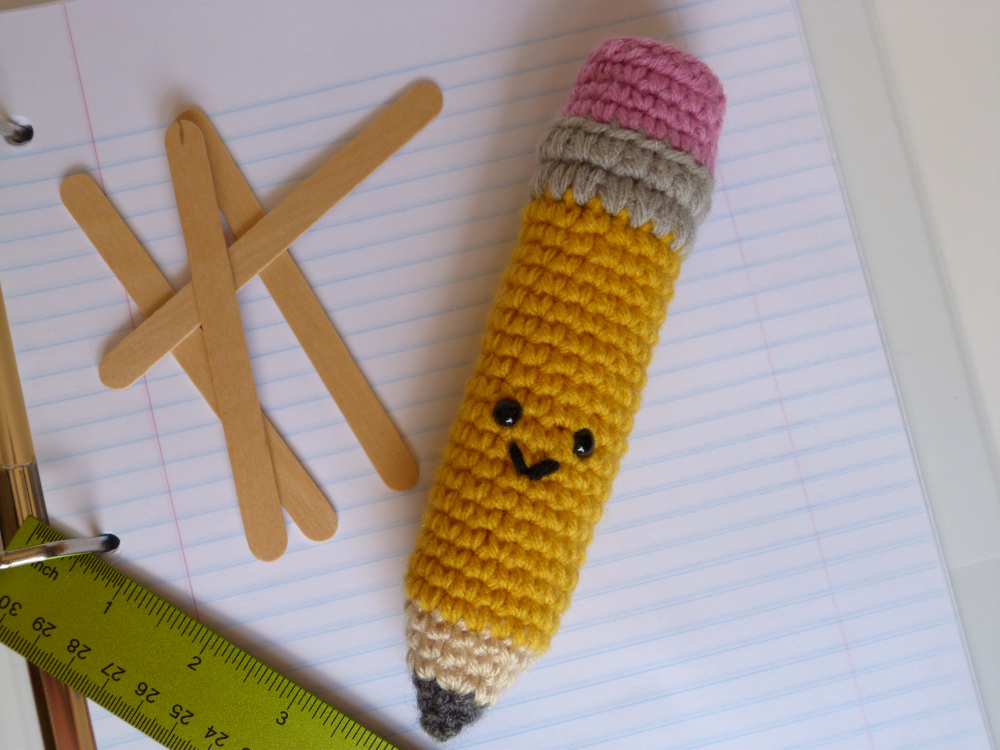
With “Back to School” on everyone’s mind, how could I not design a Kawaii Pencil Amigurumi?
This little school-themed amigurumi is an easy project, great for beginners, with just a few fun techniques to add particular looks.
I had reservations on how fine a point I would be able to achieve with crochet but it was surprisingly easy. By only increasing by 3 stitches instead of the normal 6 to begin a round you have the perfect point. However, I especially love the look of the pencil metal. First you work a round of single crochet and then crochet the next round over the last for larger and bulkier stitches. You do this twice and then work the pink for the eraser in the back loops only, to give the impression that it fits into the pencil metal. To cap it off, I could have simply decreased but I wanted a sharp edge to the top instead of a gradual edge. So you finish off the pencil and then crochet a separate round and sew it on top.
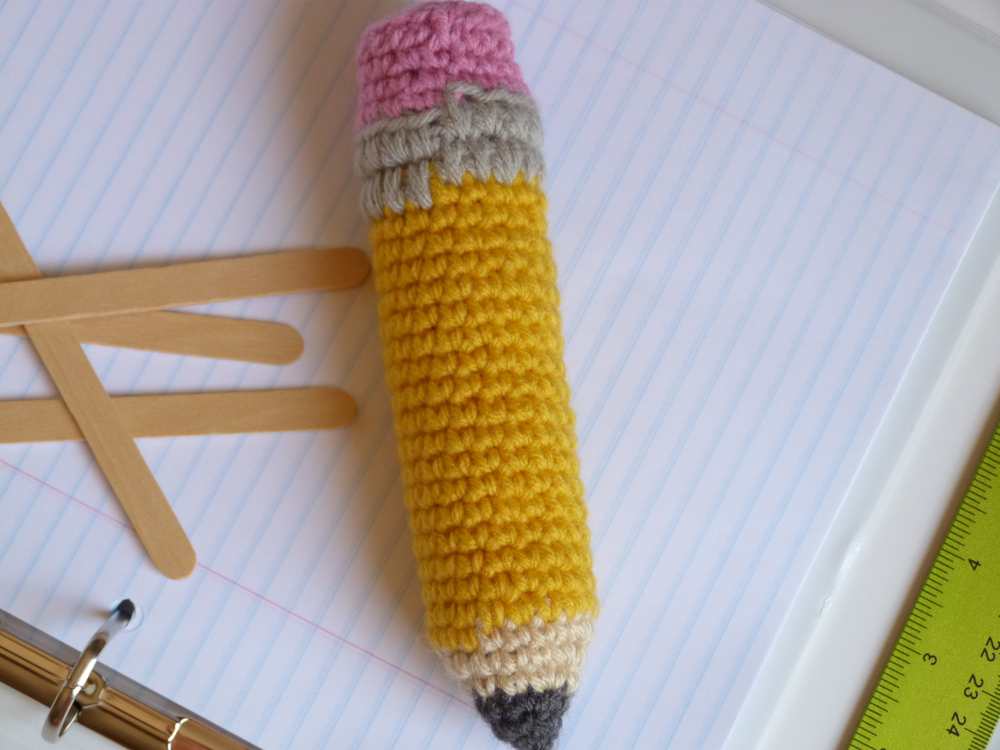
Be sure to read the Pattern Notes! Because of the nature of working in a spiral, the seam works its way around the project and can end up near the front — yikes! What I do with this amigurumi is move the seam. When you change to gray for the pencil metal you will work a few more stitches of yellow before starting the gray to make a new round beginning. It might sound complicated but it is really simple and described in the instructions.
Ready to give it a try? Let me know what you think about our Kawaii Pencil Amigurumi!
Click Here To Read More »


